Description
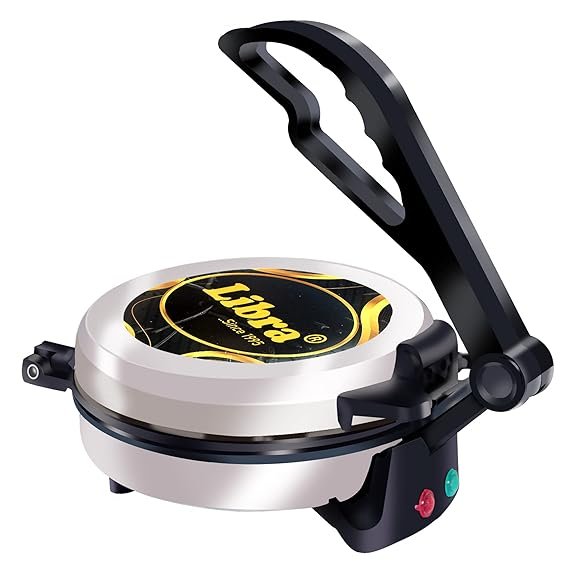
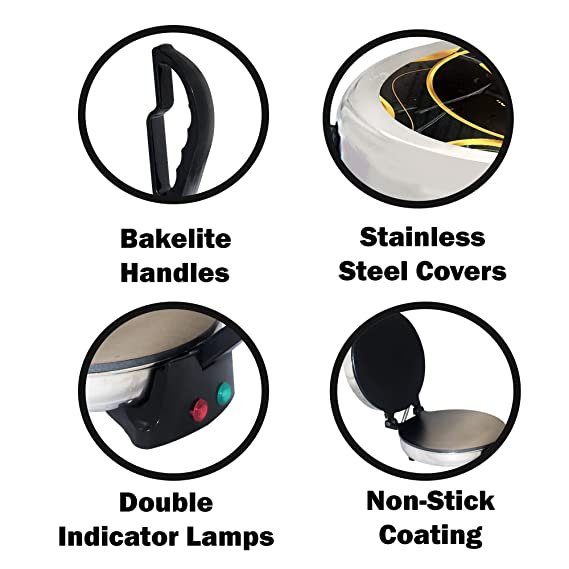
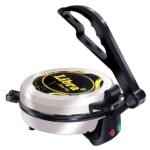
- Libra Roti Maker electric automatic has bakelite handles and housing which are strong and sturdy for long life operation. Libra Chapati maker electric automatic is also safe to use because of heat resistant bakelite handles.
- Libra Roti Maker electric automatic can not only be used to make Roti / Chapati but also can be used to make Parathas , Dosa and even paneer tikkas. The Libra Chapati Maker electric automatic is a versatile product and is very handy in every kitchen.
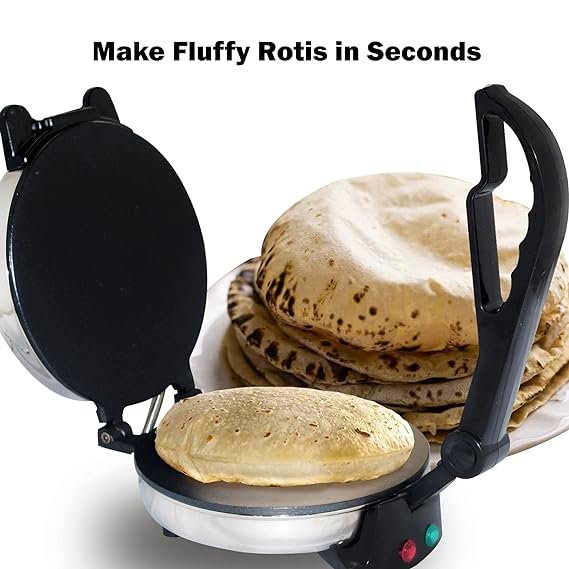
- Libra Roti Maker electric automatic makes fluffy Rotis. To do so , we need SOFTER dough then normal dough. The proportion should be 1 cup of water with 2 cups of dough. The results are better with maida and packed Atta. For other Atta please seive the atta and then use for best results. Despite all, if you are unable to prepare the Chapati in the chapati maker electric automatic , please do not hesitate to call the help line, they shall assist you with the process.
- Libra Roti maker electric automatic is strongly packed with thermocole and strong corrugated box. Thus the Libra Chapati Maker electric automatic reaches to you very safely. You can also reach customer care at any time for further assistance with the product.
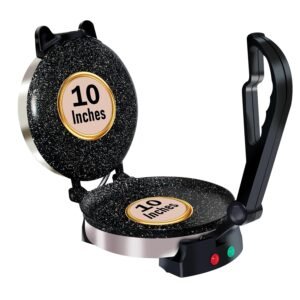
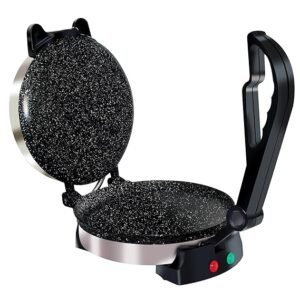
- Libra Roti Maker electric automatic is made with Stainless Steel Housing. So you do not need to worry about the rusting. The Libra Chapati maker electric automatic has Non stick coated heating plates with an 8 inch diameter which makes the process of Roti and Chapati Making very easy.
- Libra Roti Maker electric automatic has double indicator lamps. One indicator lamp indicates the power supply whereas the other indicator lamp is for the thermostatic control which goes on/off as soon as the temperature is achieved. Libra Chapati Maker electric automatic saves electricity as well besides maintaining temperature.
Product Description

How to use the Roti Maker Electric Automatic
|
|
|
|
|
|---|---|---|---|
Pre-Heat the Roti Maker Electric AutomaticEvery time you start the Roti Maker Electric Automatic , ensure that you preheat the Roti Maker for 5 minutes. After plugging in the Roti Maker Electric Automatic , the red light with glow and after preheating is done , which means after 5 minutes , the green light will glow. The green light will glow on/off in regular interval because of thermostatic control. |
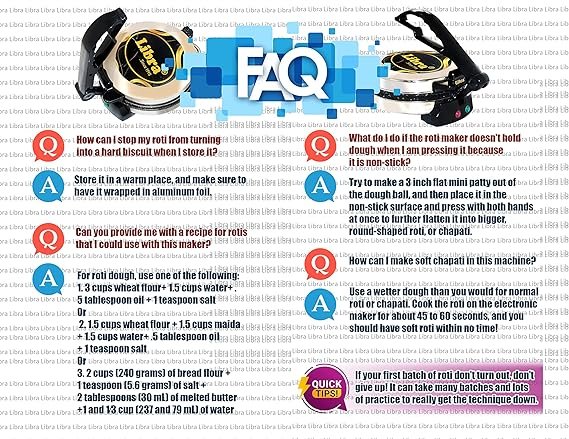
Dough Preparation in Roti Maker Electric AutomaticTo prepare the dough in Roti Maker Electric Automatic use one of the mentioned recipe for best results. 1. 3 cups wheat flour+ 1.5 cups water+ .5 tablespoon oil + 1 teaspoon salt Or 2. 1.5 cups wheat flour + 1.5 cups maida + 1.5 cups water+ .5 tablespoon oil + 1 teaspoon salt. Or 3. 2 cups (240 grams) of bread flour + 1 teaspoon (5.6 grams) of salt +2 tablespoons (30 mL) of melted butter +1 and 1?3 cup (237 and 79 mL) of water. For NON-PACKETED Atta ( flour ) it is advised to sieve it before using it. |
Leave the Dough for 30 minutesAfter preparing the dough for making Rotis in Roti Maker Electric Automatic leave it for 30 minutes covered with a moist cloth. The moist cloth does not allow the dough to get hardened. |
Softer DoughTo make Rotis with Roti Maker Electric Automatic the dough has to be softer than the normal dough for best results. Try and follow the recipe and make the dough softer than normal doughs. |
|
|
|
|
|
|---|---|---|---|
Preparing Dough Balls for Roti Maker Electric AutomaticPinch golf ball-sized sections off of the big ball of dough, and set each section on a plate dusted with flour. Lightly sprinkle about 1 teaspoon (3.3 grams) of flour over the dough to make it easier to work with. |
Making of Dough Balls for Roti Maker Electric AutomaticRoll each section of dough into a ball the size of a golf ball. After the dough has been divided out, take each section and roll it between your palms to create a rounded shape. After each ball is formed, put it back on the plate.
|
How to place the dough ball in Roti Maker Electric AutomaticPlace one dough ball in the machine between the middle and the top. Instead of setting the dough right in the middle of the roti maker, place it closer to the hinge of the machine. Right in the middle of the top half section is the best place for it, so that the dough doesn’t get squeezed out around the sides.
|
Pressing the Roti in Roti Maker Electric AutomaticClose the roti maker by holding the Top Handle with your left handle SIMULTANEOUSLY Press with the pressing handle downwards with your right hand without leaving the left hand off top handle. Press it ONLY ONCE and not MULTIPLE TIMES. You might need some practice as pressing it very hard may tear the Roti and pressing it very softly may not give you the right shape and size. So please go ahead and try 5/6 Roti till you understand the required pressure for flattening the Roti. The handle is essential to getting your dough really flat to achieve that classic roti look. |
|
|
|
|
|
|---|---|---|---|
Leave the Roti in Roti Maker electric automatic for 30 secondsPress the roti in the roti maker electric automatic for 25-30 seconds, then open the roti maker back up. Keep the handle pressed down as you count to 30. After the time has passed, release the handle and flip back the hinged top. If you need to, slide the roti to the middle of the machine with your fingertips.
|
Cooking Roti in Roti Maker Electric AutomaticCook the roti for 10-15 seconds, or until bubbles start to form. Let the roti continue to cook on the base. Turn the roti every few seconds to keep it cooking evenly.
|
Flip the Roti in Roti Maker Electric automaticFlip the roti over carefully and cook it for an additional 10 to 15 seconds. Use your hands or a pair of tongs to flip the roti over. Let the other side cook for 10 to 15 seconds, or until you notice the roti is starting to puff up in the middle.
|
Gently Close the Roti Maker Electric AutomaticClose the lid gently on the roti, but don’t secure the clasp. Once the roti starts to puff, very gently set the hinged lid back down on top of it. Don’t press it down hard, and don’t use the handle at all.
|

Final Step of Roti Maker Electric Automatic
Remove the roti from the machine after it puffs and pushes the lid open. Watch the lid of the roti maker. The roti itself will puff out and become very large, pushing the top of the machine back up. When you see this happen, wait until the roti deflates and becomes flat again, and then remove it from the machine.
- Some people are able to get the big puff without closing the lid again, but the most reliable method is to use the heat from the lid to create the puff.
Some points to take care with Roti Maker Electric Automatic
- The Top and Bottom Covers are made of Stainless Steel as such the surface is always hot. Take care.
- Clean the Roti Maker after every use. Use moist cloth.
- Earthing is necessary in the plug point.
- Let the Roti Maker cool down and then you can keep it in the desired place.
- Do not let the power cord touch the hot surface.





HOW MANY PRODUCTS DO YOU PURCHASE FROM OUR STORE ? 1
good product worth the cost